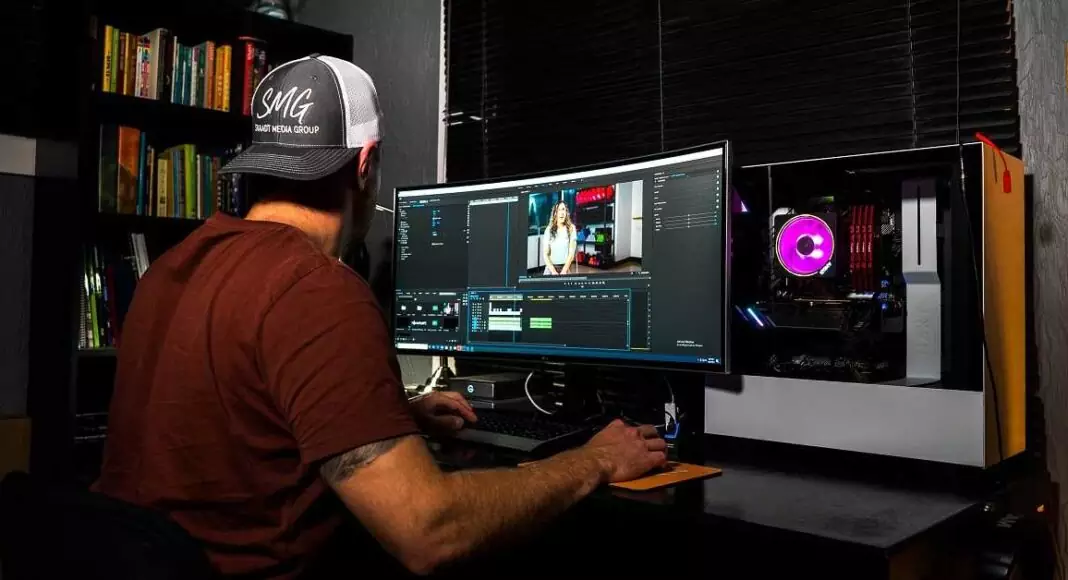
One of the most sought-after skills in the field of content creation is video editing. From intros to outros, the magic hands of video editors have to work to keep viewers engaged and entertained.
Fortunately, the internet has made it quite effortless for amateurs to pick up the needed skills to become full-fledged video editors. However, the huge amount of information available out there can make things more overwhelming than exciting.
To make things easier for you, we have put together a guide that will help you understand the fundamentals of video editing. Read more to know how you can approach video editing and get started with this exciting profession.
Preview the Video Footage
Once you receive the raw footage or finish shooting, you need to preview all material. This will help you gain a high-level overview of what the entire video is about and also its feel. During the preview phase, you can also go ahead and remove video files that won’t help with the storytelling.
However, make sure you store such files somewhere as you can never be sure whether they’ll be helpful in the editing process. It’s also advisable to copy and store the entire raw footage you imported from the recording device on a different drive. This backup will be useful in case your main drive gets corrupted or your computer (or smartphone) stops working.
Organize the Footage
Once you have reviewed the video clips, it is time to organize them. Organizing footage makes the editor’s life easier than anything else. It makes the editing process faster and more efficient. Depending on how you like to work, you can create folders and subfolders and organize the unedited video files.
Make sure you name your folders in a sensible fashion as other collaborators may also have to use them. You can once again go through the raw footage and decide which are the best shots and which ones should be deleted.
Refer to the Script and Plan
The script clearly defines what story you want to tell to the audience. It defines the purpose of the video and also how the story unfolds in front of the viewer. Editors should have a precise understanding of what the script is. Only then can they place the raw footage into the right sequence and create a final output just like how the writer and director intended.
It’s crucial to plan your editing process based on the script. It will help you decide what’s the story to tell through the video, which will ultimately help you rightly edit the footage. It will also help you understand the kind of transitions, music, and titles you can include without affecting the narration.
Make a Rough Cut
Creating a rough cut involves putting the video clips in the right sequence in a video editing tool. There are several paid video editing tools available out there. But if you’re an amateur, going for an online video maker is the ideal choice. In most cases, such online tools will be free or incredibly cost-effective.
Edit
Once the rough cut is created, you can start the actual editing. The first step is to trim out dead spaces. Most of your video clips will start too soon or end late. Trimming lets you delete such unwanted frames and keep the focus only on what matters.
Based on your script, you can use techniques like jump cuts, L cuts, and J cuts. At this point, you can also include transitions between video clips. While including transition effects, make sure you don’t overdo it. That’s because too many transitions can distract the viewer from the storyline.
Fade in or out, dissolves, and iris in or out are some of the standard transition effects used. Based on the video editing tool you use, there will be a huge collection of transition effects and you can create custom effects as well.
Another important aspect of editing is finding and including the right music. Including background music can make or break the storytelling process. In most cases, the music tracks to be included are decided before the editing process. If you’re unable to purchase music, you can use royalty-free music without facing any copyright issues. You can then include titles and other graphical elements to enhance the storytelling.
The next step is colour correction and grading. Colour correction ensures that the colours of the video clips are consistent in each scene. On the other hand, colour grading aims to give your final output the desired look.
Colours affect the audience’s mood and can significantly affect their opinion of the final output. Again, colour grading depends on the script and the kind of story you’re telling. Although many professionals use a different tool to colour grade the video clips, most video editing tools have in-built capabilities to do the same.
Export
Just like how you export text documents, even video files have to be exported to be viewed outside the editing tool. The process of exporting differs based on the editing tool you choose. Depending on the tool, you can tweak multiple characteristics of the video such as resolution, frame rate, bitrate, aspect ratio, and file format.
How you export the final output depends on a number of factors, including where you’re planning to publish your video, the formats supported by your video playback device, and more. Some of the common formats for online streaming are MP4, WMV, and FLV.
Exporting a high-quality video with a higher bitrate and frame rate will be heavier to upload or stream online. Based on the requirements of the platform you will be uploading the video, you can export multiple files with different formats.
In Conclusion
Video editing is an art in itself. It’s one of the most important processes in video production and can decide how engaging or entertaining the final video is. Regardless of the video editing tools you use, the basic steps mentioned in this article remain the same. If you’re a beginner, gather some raw footage and start experimenting as it is one of the best ways to learn video editing.

“Prone to fits of apathy. Introvert. Award-winning internet evangelist. Extreme beer expert.”


